자체 인프라에서 문서 처리 실행
Run it locally or on your own infrastructure
A lightweight self-host version designed for developers. No complex setup, no external dependencies — just download, run, and start using Documentize in under a minute.
⚡ Quick Start
Choose the setup that fits your workflow. Both options take only a few steps.
.NET 9 (fastest way)
If you already have .NET installed, this is the quickest way to get started.
- Download the self-host package
- Extract the archive
- Run:
dotnet Documentize.SelfHost.dllThen open http://localhost in your browser.
Docker
Prefer containers? Use the included Dockerfile to run Documentize anywhere.
- Download the Docker package
- Build the image:
docker build -t documentize .Run the container:
docker run -p 80:80 documentizeThen open http://localhost.
🧩 Requirements
Minimal requirements depending on your setup:
- .NET 9 Runtime for direct execution
- Docker for containerized setup
⚙️ More Details
The self-host version is built as a standard ASP.NET Core application, so it behaves exactly like any modern .NET web API.
- Runs locally or on any server
- Default Docker port: 80
- No external services required
- Suitable for internal tools or production use
🔑 Licensing & Subscription
Without a license the API runs in Trial Mode — output files may contain evaluation watermarks. Apply a license to enable full, watermark-free processing.
Free vs. paid tier
Every request — with a key or without one — runs under one of two allowances. A paid subscription is what lifts both the daily quota and, if the key is an active paid subscription, the Aspose watermark.
| Free / no key | Paid subscription | |
|---|---|---|
| Operations per day | 5 | Unlimited |
| Max file size | 10 MB | Unlimited |
| Concurrent operations | 2 | 8 |
| Aspose watermark | Applied | Removed |
A paid subscription is proven to the instance by a signed key — either fetched automatically for you (Option 3) or issued manually (Option 4) — never by an environment variable you set yourself: those numbers are compiled into the binary and cannot be raised any other way.
Option 1 — Environment variable
Base64-encode your .lic file and pass it as an environment variable before starting:
# Linux / macOS
export ASPOSE_PDF_LICENSE=$(base64 -w 0 Aspose.Pdf.lic)
dotnet Documentize.SelfHost.dll
# Docker
docker run -p 80:80 \
-e ASPOSE_PDF_LICENSE=$(base64 -w 0 Aspose.Pdf.lic) \
documentizeOption 2 — Upload via API
POST the .lic file to your running instance at any time.
curl -X POST http://localhost/webapi/license \
  -F "license=@Aspose.Pdf.lic"
Check the current license status at any time:
GET http://localhost/webapi/license
# { "licensed": true }
Option 3 — Activate with your Documentize account (recommended)
If you already have a Documentize account with an active subscription, you don't need an Aspose .lic file at all. Create a SelfHost activation key below (requires signing in), then set it as an environment variable on your instance. The instance uses the key to call the Documentize API roughly every 6 hours and fetch a short-lived signed entitlement — whatever plan is active on your account is reflected automatically, with no further action from you when you upgrade, downgrade, or renew.
# Linux / macOS / Docker
export DOCUMENTIZE_API_TOKEN=dmk_your_activation_key
This API token is not the same as the "Copy API token" button in the sidebar — that one is a short-lived login token for the hosted Documentize web app. The activation key created below is a separate, long-lived, single-purpose credential: it can only be used to refresh a SelfHost instance's entitlement, and it can be revoked here at any time, which stops the next refresh from renewing that instance — the instance simply keeps running on its last-known entitlement until that grant's own short expiry, then falls back to the free tier.
Independent of Options 1, 2 and 4 — use whichever fits your deployment; an instance is free to run more than one method side by side (a per-request key always wins if you send one — see below).
Option 4 — Manually issue a subscription key (advanced)
Options 1–3 are for the plans sold through the Documentize website. If you are distributing your own long-lived (monthly, yearly, or perpetual) subscription keys — for example as a vendor bundling SelfHost for your own customers — the Documentize.SelfHost binary can mint them itself, offline, from the command line. Neither command touches the network or starts the web server.
First, generate a signing key pair once (keep the private half secret):
dotnet Documentize.SelfHost.dll --new-signing-key
# PUBLIC  (ship this — DOCUMENTIZE_SUBSCRIPTION_PUBLIC_KEY):
# MIIBIjANBgkqhkiG9w0BAQEFAAOCAQ8AMIIBCgKCAQEA...
#
# PRIVATE (keep secret — needed only to issue keys):
# MIIEvQIBADANBgkqhkiG9w0BAQEFAASCBKcwggSjAgEA...
Set the public half as DOCUMENTIZE_SUBSCRIPTION_PUBLIC_KEY on every instance that should trust keys you issue (a Release build can also have it baked in at compile time). Then issue a key for a customer:
dotnet Documentize.SelfHost.dll --issue-key "<privateKeyBase64>" \
  '{"sub":"customer-123","email":"buyer@example.com","plan":"Pro Yearly","tier":"paid","period":"year","exp":1798761600}'
# DMZ1.eyJzdWIiOiJjdXN0b21lci0xMjMiLCJ0aWVyIjoicGFpZCIsLi4ufQ.MEUCIQD...
Give the printed DMZ1.… value to the customer to set as:
# Linux / macOS / Docker
export DOCUMENTIZE_KEY=DMZ1.eyJzdWIiOiJjdXN0b21lci0xMjMiLC4uLn0.MEUCIQD...
# or, for a docker secret / k8s mount:
export DOCUMENTIZE_KEY_FILE=/run/secrets/documentize_key
Payload fields: sub/email/plan are freeform, shown back on /webapi/usage. tier is "free" or "paid". period is "month", "year", or "perpetual". exp is a Unix timestamp (seconds) the key stops working at — omit it (or set 0) for a perpetual key that never expires. You can optionally cap dailyOps, maxFileMb, or maxConcurrent per key for a bespoke plan; leave them out to use the standard paid-tier numbers above.
This key never expires from your side and never phones home — the instance verifies it completely offline, forever, unless you also set DOCUMENTIZE_KEY_REFRESH_URL to let it check for revocation periodically. This is the right tool for a key you are selling or handing out yourself; Option 3 above is the right tool for a customer with a Documentize account who just wants their own subscription reflected automatically.
🔑 Your SelfHost activation keys
No account needed to try this out — Create key below issues a free trial key on the spot. Sign in (top of the page) to list or revoke keys later, or to upgrade to a paid plan for full limits.
Copy this key now — it is stored only as a hash and cannot be shown again.
Set it as an environment variable on your instance:
This is a free trial key — it works at the same limits as a free account. Sign in to keep it listed for later, or upgrade to a paid plan for full limits.
Existing keys
| Label | Key | Created | Last used |
|---|
Presenting a key on a single request
Whichever option you use, a DOCUMENTIZE_KEY/DOCUMENTIZE_API_TOKEN set on the instance is the default for every request. You can also override it per request, e.g. to test a different key without restarting the instance — any one of these three works, and a per-request key always wins over whatever the instance is configured with:
# Dedicated header
curl http://localhost/webapi/usage -H "X-Documentize-Key: DMZ1...."

# Standard bearer auth (what Swagger UI's Authorize button sends)
curl http://localhost/webapi/usage -H "Authorization: Bearer DMZ1...."

# Query string, for clients that can't set headers
curl "http://localhost/webapi/usage?key=DMZ1...."
Checking your current status
Free, no key required:
GET http://localhost/limits        # human-readable
GET http://localhost/limits.json   # machine-readable
GET http://localhost/webapi/usage  # your own tier, plan, usage today, and licensing status
/webapi/usage reports the same tier/plan a browser sees on the Documentize account page (email, plan name, days left in a term key), plus licensed/licensing fields explaining exactly why the Aspose watermark is or isn't applied right now — the first place to check if paid processing doesn't look the way you expect.
🖥️ Using the desktop & terminal clients with your local instance
The Windows, Linux, and TUI clients normally talk to the hosted Documentize API. You can point them at this self-host instance instead, so files are processed on your own machine and never leave your network.
Let the Windows client run the engine for you
The Windows client has a built-in copy of this engine — you don't need .NET or Docker installed separately.
- Open Settings → Run Documentize on this computer.
- Click Install — the client downloads
Documentize.SelfHostto%APPDATA%\PDFCON\self-hostand starts it on a local loopback port. - Click Use locally to route all operations to it.
When you are signed in with a paid subscription, the client fetches a signed entitlement for the local engine automatically (the same mechanism as Option 3 above), so full limits and watermark-free output work with no extra setup.
Point any client at an instance you started yourself
If you run this engine directly (dotnet Documentize.SelfHost.dll or the Docker image), connect any client to it with a provider profile:
- Start the instance and note its URL —
http://localhostfor the defaultdotnetrun, or the port you mapped for Docker. - In the client, open Settings and add/edit a provider profile:
- Kind: Documentize REST
- Base URL:
http://localhost/webapi/(keep the trailing/webapi/) - API Key (optional): empty for the free tier, or a SelfHost activation key /
DMZ1.…key to send per request.
- Select that profile as the active one and save.
Licensing the instance itself is done with any of Options 1–4 above; the client's API Key field is only for presenting a key on a single client's requests.
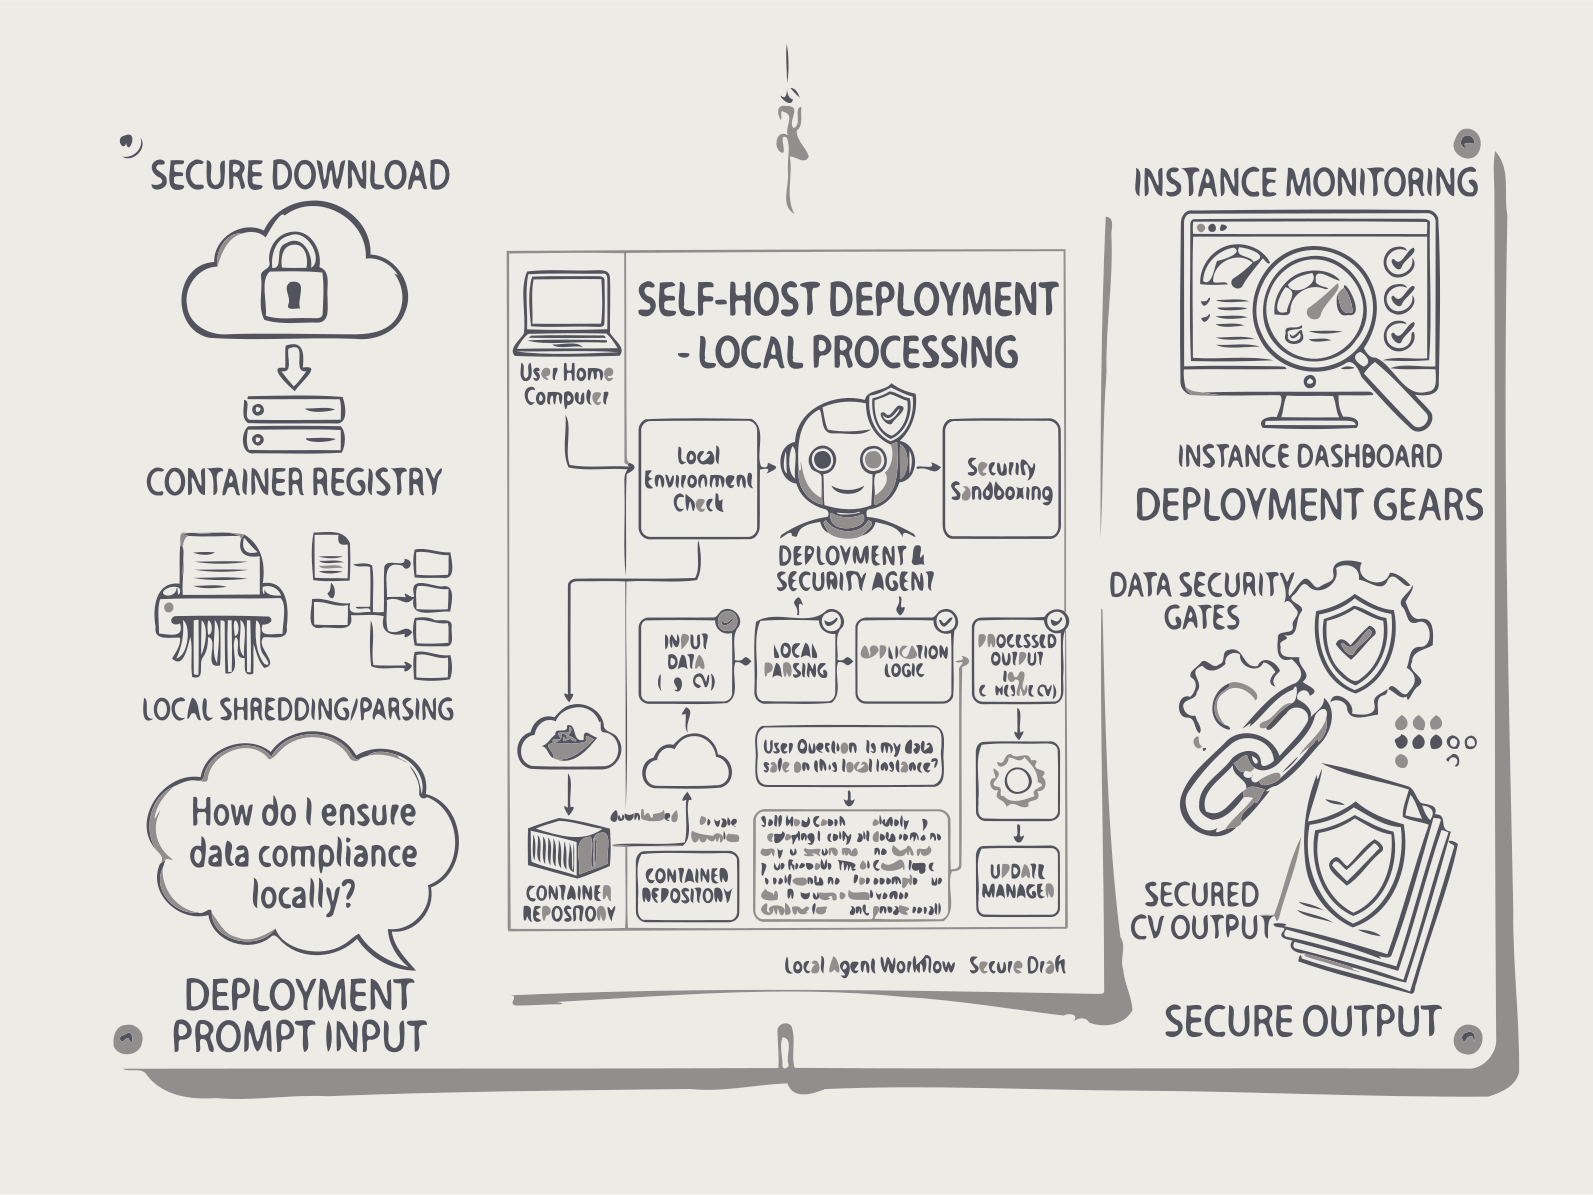
통합 REST API를 사용하여 로컬 문서 자동화와 완전한 데이터 제어를 가능하게 하는 자체 인프라에 Documentize AI를 배포하세요.
Documentize AI를 완전히 자체 인프라에 배포하여 데이터 제어를 완벽하게 확보하십시오. 우리의 자체 호스팅 문서 처리 솔루션은 로컬 문서 자동화를 위한 통합 REST API를 제공하며, 정부 기관, 의료 기관, 금융 기관 및 클라우드 처리가 규정 준수 또는 보안 위험을 초래하는 모든 환경에 이상적입니다. Docker 지원이 가능한 Windows 또는 Linux 서버에서 실행되며, 배포 후 완전히 오프라인으로 운영되고, LDAP 또는 OAuth 인증을 사용합니다. 클라우드 플랫폼과 동일한 기능을 제공하고, 방화벽을 떠나는 데이터는 전혀 없으며, 모든 문서 작업에 대한 완전한 감사 로그를 기록합니다.
셀프 호스팅 Documentize 작동 방식
1. API 배포
Docker 또는 로컬 호스트를 사용하여 자체 환경에서 REST API와 워커 실행.
2. REST를 통해 문서 전송
변환, OCR, 검색 또는 AI 처리를 위해 파일과 파라미터를 API 엔드포인트로 업로드.
3. 백그라운드 처리
작업은 비동기적으로 처리되며 상태 추적과 예측 가능한 실행 제공.
4. 결과 가져오기
작업 완료 시 처리된 문서 또는 구조화된 결과 다운로드.
FAQs
자체 호스팅 문서 API
PDF 잠금
REST API를 사용하여 문서를 비밀번호로 잠금.
PDF 잠금 해제
REST API를 통해 비밀번호로 보호된 문서 잠금 해제.
문서 변환
지원되는 형식 간 문서를 변환.
문서 병합
여러 문서를 하나의 출력 파일로 병합.
PDF 분할
페이지 또는 정의된 규칙에 따라 문서를 분할.
OCR 처리
스캔 문서 및 이미지에서 텍스트 인식.
검색 가능한 PDF
스캔 파일에서 검색 가능한 PDF 생성.
PDF 검색
문서 내 텍스트 콘텐츠 검색.
페이지 제거
PDF 페이지 제거.
페이지 회전
문서 페이지 회전.
PDF 압축
문서 페이지 압축.
디지털 서명
API를 사용하여 문서를 디지털 서명.
PDF 서명 검증
문서의 디지털 서명을 검증.
목차
목차 자동 생성.
체크리스트 생성
AI를 사용하여 문서에서 구조화된 체크리스트 생성.
일러스트 생성
문서 내용을 기반으로 AI 생성 일러스트 생성.